
A guide to creating your event page, using its features, and optimizing your page for a successful event.
This is a top-to-bottom guide to making your event page awesome. We’ll take you through the process of setting up your event, step-by-step, and throw in some tips for success and best practices along the way.
Getting Started
If you haven't already created your event, this support article will walk you through how: How do I create an event page?
Building Your Event Page
When you’re ready to start building your event page, you’ll see a lot of options. But don’t get overwhelmed! There are lots of ways you can customize and enhance your page, and we’ll go through the process step-by-step.
Dashboard
On the left side of your page is your event dashboard. This allows you to access the back end of your event. Event page allows you to view your public facing page and make any necessary updates to how your supporters see the page, Campaigns will show you all individual fundraising campaigns or team campaigns that have joined the event, Participants will show you the users that have created the participating campaigns, Registration allows you to connect your Mightycause event with Eventbrite for ticketing, Reports allows you to access donation reports, matching grant reports and your Eventbrite attendee report, and Settings will allow you to update the basic settings for your event.
Editing your Event Page from the Event Page
Theme
This is where you can get creative and showcase your branding! To edit your Theme color, click the 'Edit Theme' button in the top right hand corner of your event page:
From here, you can choose whatever color you'd like for your theme. Now, here’s where things get really cool. You can choose a color theme for your page, which will allow you to put your own personal stamp on your event page. Select "Theme Color" to add in a color. The color you choose will apply to some of the text on your event page, such as your donate button and metrics section.
Next, you'll want to add a banner image. Your banner image is a large image file that will display behind your logo, event title, fundraising thermometer, and above your leaderboard. Your banner image will look best if it’s mostly text-free (since there will be text displaying in front of it) and a strong image that’s representative of your event. Landscape-oriented images will work best.
Click the small icon in the top right hand corner of the banner image space
A pop-up will appear where you can upload your banner image, as well as add an overlay color to the image. Once you're happy with the overlay color and banner image, choose 'Apply.'
Timer
You can add a Timer to your Event page by clicking the + Timer icon at the top of the banner image. Once the timer is added, click the pencil icon to edit the timer.
Fill out the necessary options seen below and then choose 'Done.' You can always come back to this section to update your timer, perhaps setting up a timer to the starting time at first, and then updating it to the end time once your event is in progress. You can also remove this section by choosing the 'Remove' button at the bottom.
Title (Required in order to publish)
Make sure to give your event an awesome title. What makes a title awesome? Well, it should be short, snappy, and explain a little bit about your event and your purpose. To help you decide, you are limited to 50 characters for your title. You can add an option Subheader as well, which has a 30 character limit.
Event Logo (Required in order to publish)
Your event logo displays in the top-center of the page.
You have lots of different options for uploading your logo, which are displayed on the dashboard on the left side of the upload screen.
You can upload a file directly from your computer, link to an image hosted elsewhere on the web, import one from Google Drive, Dropbox, and more.
Metrics
You have a few different ways to display your metrics and goals here. Click the pencil icon in the top right hand corner to open up your options:
You can choose the date and time you'd like metrics to begin and end being calculated on for your event at the top. Next, add your Funding Goal in dollars. Note that this is the funding goal for the whole event. So think about how many teams or people you anticipate joining your event and how much you expect they will be able to raise. Then do some quick math to determine an appropriate funding goal for your event. (You’ll be able to set your event member’s goals for them when you create your fundraiser template.)
Lastly, choose which metrics you'd like displayed and which should be the primary metric displayed at the top of the metrics box and choose 'Done.'
Leaderboard
Your leaderboard is a key part of your event page — it’s where your teams and event members compete for the top spot! By default, your fundraiser leaderboard will be on the left and the team leaderboard on the right. You can remove one, remove the whole section, or rearrange them by click the pencil icon here seen here.
Clicking 'Leaderboards' will bring up a box where you can uncheck the leaderboards and rearrange them by dragging and dropping with the icons to the left of the checkmarks.
There are additional settings you can change for each individual leaderboard as well. Remember, by default, the left leaderboard is for Fundraisers and the right leaderboard is for Teams. Click the icon in the top right hand corner of the leaderboard to pull up your different options.
You can update the title, add a subtitle, header image, and choose how the fundraisers are sorted and displayed here. Click 'Apply' when you are finished updating the leaderboard settings.
Story (Required in order to publish)
Your story is your chance to explain what your event is all about, both to event members and to donors. This is pretty straightforward — just click into your story and start writing! You can also add media to your story to jazz things up. You can add links, upload images, link to videos on YouTube and Vimeo, and add bulleted or numbered lists.
Updates
You won’t need to do anything with this section to publish, but it’s important to know where this is on your toolbar, since Updates help you keep your supporters engaged.
Custom Tabs
Do you have extra information you want to share with people about your event that won’t fit in your story, or just doesn’t make sense as an update? You can create a custom tab to add that information to your event page, while keeping everything organized and easy to find. You can add anything you’d like to your custom tabs, really: Information about your sponsors, frequently asked questions, information about your live event, acknowledgements, resources and links to more information. The list goes on! You can create up to 3 custom tabs that you can label however you’d like and fill with whatever content makes your event fundraiser more awesome!
Sponsors and Affiliates
You can thank your sponsors right on your event page! This section is very customizable and presents lots of different ways to acknowledge your sponsors and partners. You can add custom sections and subsections to ensure that all of your corporate partners, donor groups, and more receive the recognition they are due on your event page. To add this section, click ' + Sponsors & Affiliates' and then the pencil icon in the top right hand corner of the new section to edit the section.
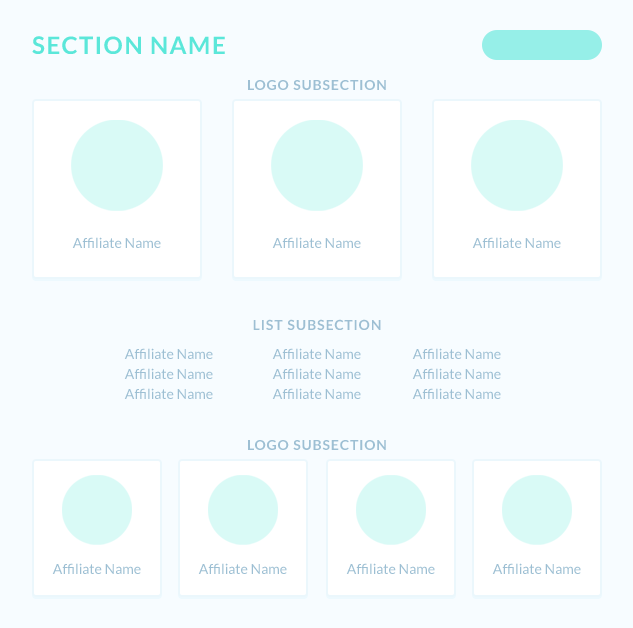
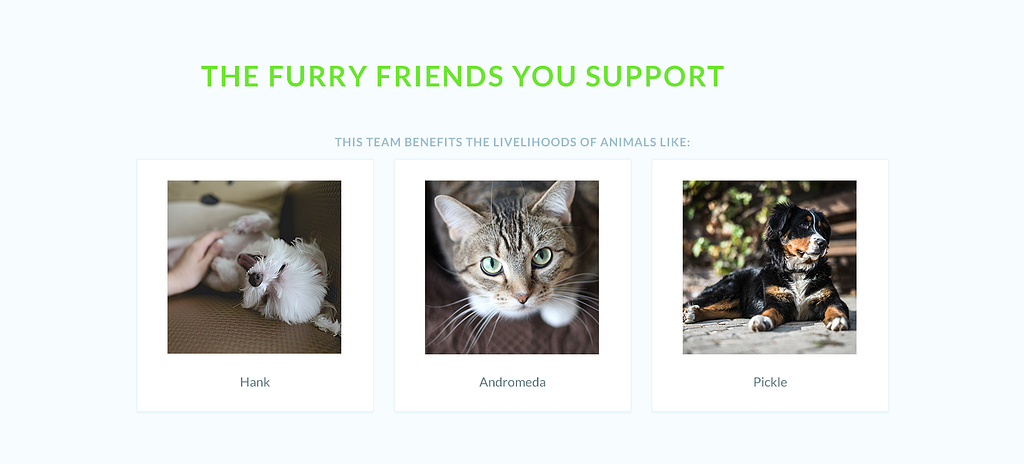
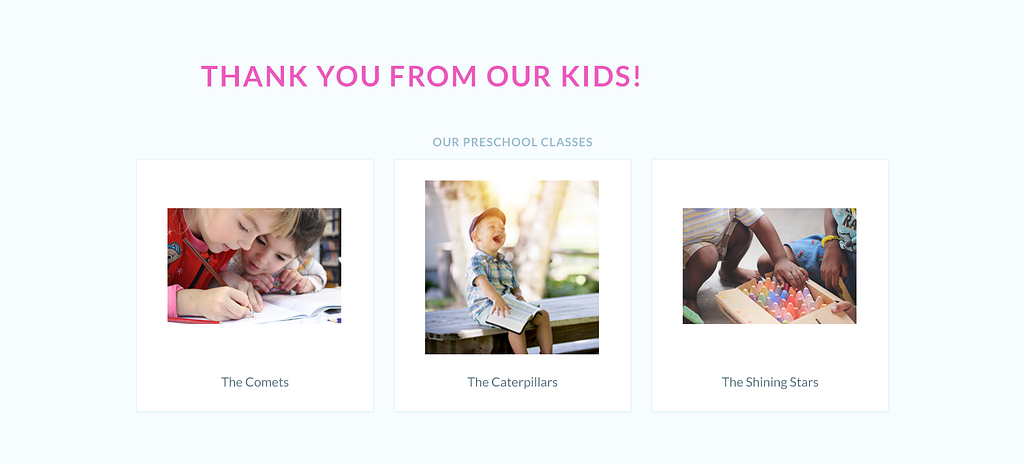
Here’s a quick overview of how this section works and how it will look on your page:
To add a section, just click 'Add a new section.'
You’ll be taken to a new page, where you can either choose from a section name we’ve preloaded for you, or write a custom name for your section.
Once you’ve chosen the name of your section, then you’ll be able to customize how you would like the section to display, and add subsections.
You can label your sponsor section and create subsections, such as “Sponsors” with a subsection for “Gold Sponsors” or “Presenting Sponsors,” and choose whether you’d like to display logos (which is great for corporate sponsors) or lists (which works best if you have a lot of names to list, or for lower-tier partners). You can also choose how prominently you want the logos to display. Once you’ve customized a subsection, clicking “Add Subsection” will allow you to add additional subsections to the section.
Then you can add an affiliation, meaning a partner or sponsor you would like to list in that section, or even get creative about how you use this section if you don’t have sponsors to recognize.
You can add your sponsor’s logo/photo, name, and link to their website.
To keep adding sponsors and fill out that section, click “Add Another Image” or “Add Another Entry” and provide a logo if desired, a label and a link for each additional sponsor. Once you’ve added all of your sponsors to that section, click “Save” on the right side of the bottom bar. Their photo with their name (called a “tile”) is a clickable link to their website.
Fundraiser Template
This is not required before you can publish your page, but you may wish to create a fundraiser template before you publish. You, as the Event Organizer, can create a default title, goal, image/video, short story, and story for each event member’s page. Having a strong template available allows your event members to get their pages up and running quickly. You can find your template underneath the "Settings" section on your event dashboard.
Read more about creating your fundraiser template!
Publishing Your Page
Now, your event page is complete! You’re ready to publish your page. You'll see a banner like this at the top of the page once all of your event's required items have been completed:
If you have any required items to complete before publishing, you’ll see them here.
Once you click “Publish,” your page is live! And it’s time to start inviting people to join your event and start fundraising for awesome causes.
If you have any questions about the features on your page or would like help making it as amazing at it can possibly be, contact support@mightycause.com.
Comments
0 comments
Please sign in to leave a comment.